Earth Day Crafts (Part 3): Media Holder

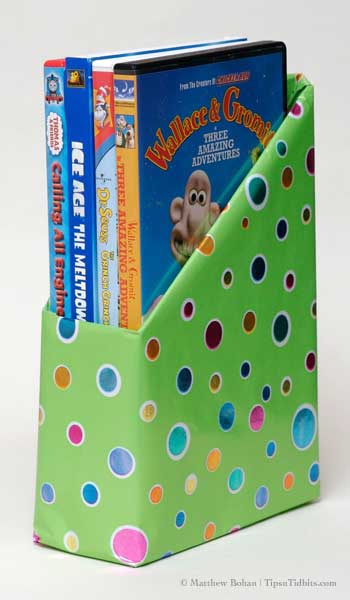
This is a colorful way to put cereal boxes, cracker boxes and old paper to good use. We used a Cheez-It box to create this DVD holder last spring, covering it with wrapping paper scraps. Alternatively, children could use old magazines or catalogs to create a collage on their box.

For other variations, you could use cereal boxes for magazines, a wide cracker box for VHS tapes or a shortened cracker box to hold CDs instead of DVDs. Additionally, you could vary the box sizes but match the paper for one look; use matching box sizes and paper for another look; or have fun mixing it all up.

Whatever you choose, here’s how to do it.

Cut away the top of each selected box to the desired height depending up the media for which it’s intended.

At about a 45-degree angle, cut matching triangular sections away from the “walls” of the box.

Help your children wrap the box in gently-used but sturdy wrapping paper,

OR

have them make a collage on it with magazine cutouts or scraps of wrapping paper. To do so, have them glue pieces on the box in order to cover all visible areas (all of the outside and the upper edge of the inside). Allow the glue to dry, and then brush a thin layer of Mod Podge or white glue over the paper. Allow to dry completely before using.

Have fun, and let me know how it goes!

© Liesl K. Bohan | TipsnTidbits.com

Earth Day Crafts (Part 2): Paper Beads and Tubes

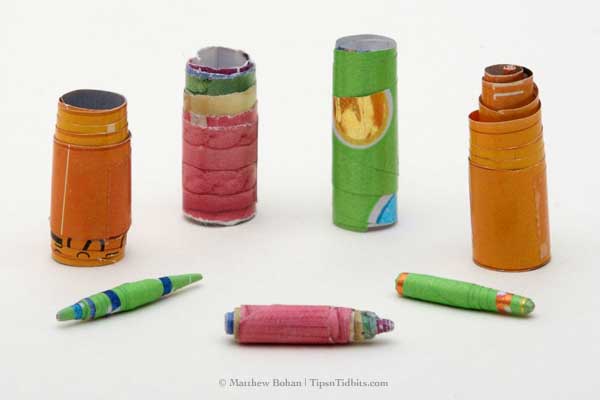
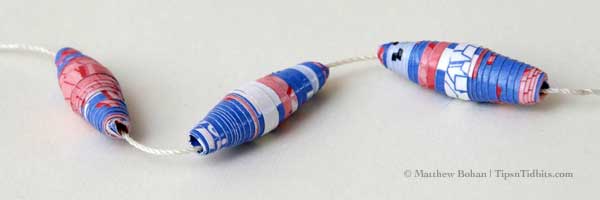
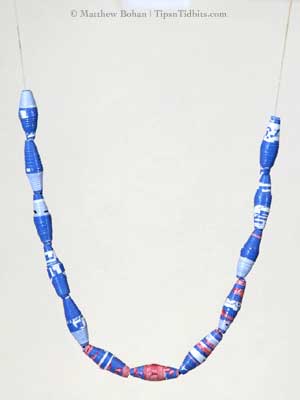
This round of Earth Day craft ideas features paper beads and tubes. We first made these last spring and were impressed at how pretty they and versatile they are. You can create an extraordinary array of styles and shapes simply by varying the paper color, quality or width and by using cylinders of different thicknesses.

Great instructions for this activity can be found at wikiHow, but keep in mind that making tiny beads may be challenging for those under the age of 8. Children as young as 4 may enjoy this project as long as they use thick cylinders—nothing narrower than a pencil or crayon—in step 3. Those with limited levels of patience or finger dexterity should aim for making larger tubes for yarn instead of tiny beads for thread.

Our best results came from gently-used thick wrapping paper, magazines, catalogs and glossy junk mail.

Larger tubes, taped (back row) and smaller beads, glued. It may be easier for younger children to apply tape during step 4 instead of using glue in step 3 or 4.

If desired, you can use undiluted Mod Podge or Elmer’s Glue in step 6 rather than thinning with water.

More advanced beaders might want to visit FamilyFun.com to see their instructions for making a magazine bead bracelet.

© Liesl K. Bohan | TipsnTidbits.com
Earth Day Crafts (Part 1): Canvas Bags

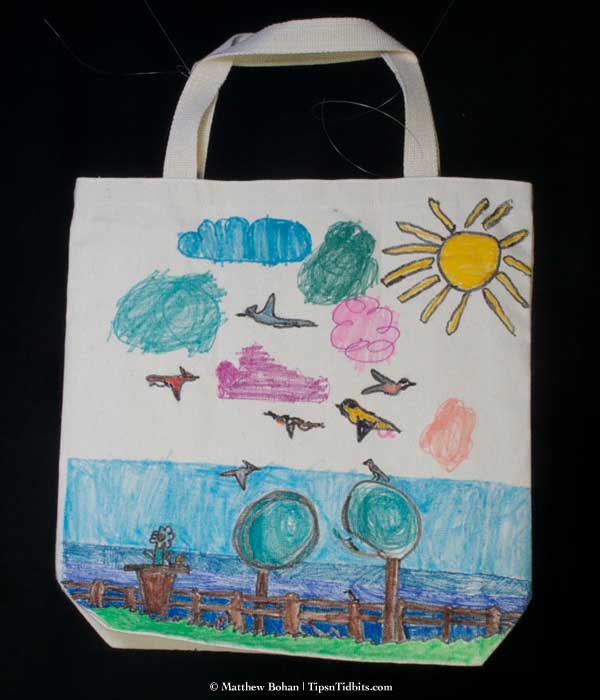
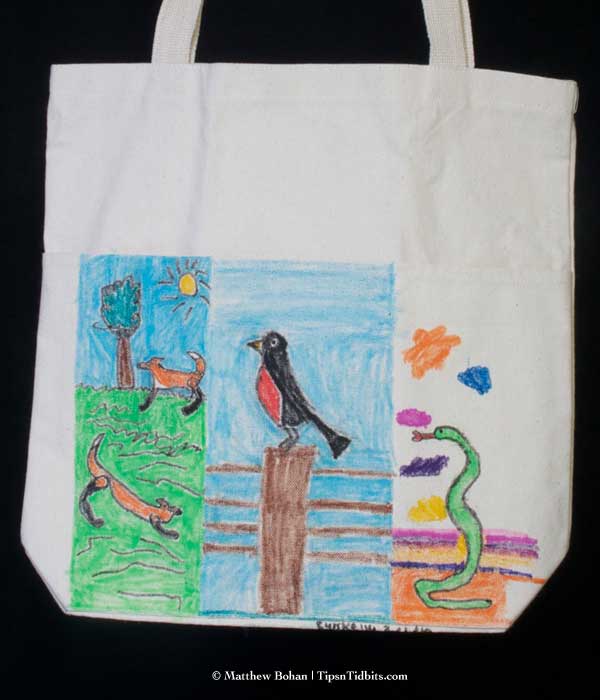
In honor of Earth Day, which is fast approaching, I’m sharing pictures of some of the planet-friendly projects our children have worked on. Many were adapted from activities described in Family Fun Magazine or on FamilyFun.com, but this one is more original.

This installment features canvas bags decorated earlier this year. In addition to opting for canvas instead of plastic or paper for groceries, we use these bags for library books and trips to the farmers’ market. Blank cotton canvas totes can be purchased in a variety of shapes and sizes at many stores, including amazon.com, Jo-Ann Fabric & Craft Stores and Michaels.

To create a smooth surface and prevent ink transfers to the other side, a large book covered by a thick layer of newspaper was placed in each bag. Kelly and Timmy used #2 pencils to sketch their pictures on the canvas, and then they colored them in with a combination of Crayola Fabric Markers and Sharpie Fine-Tip Permanent Markers.

Kelly’s Farm Scene, January 2010 (8 years)

Timmy’s birds, January 2010 (5 years)

Kelly’s Triptych, January 2010 (8 years)

Photos by Matthew Bohan. Original artwork © Kelly Bohan and Timmy Bohan | TipsnTidbits.com.

© Liesl K. Bohan | TipsnTidbits.com
Painting Sundays (Part 2)

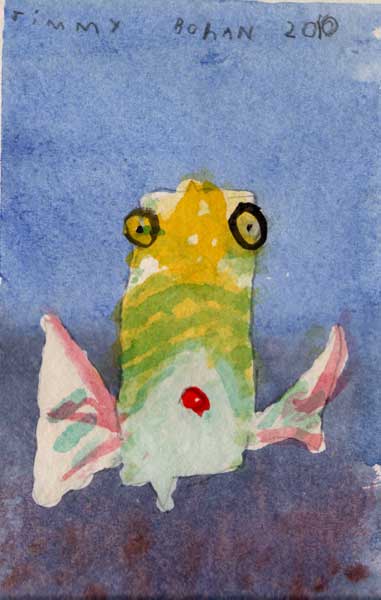
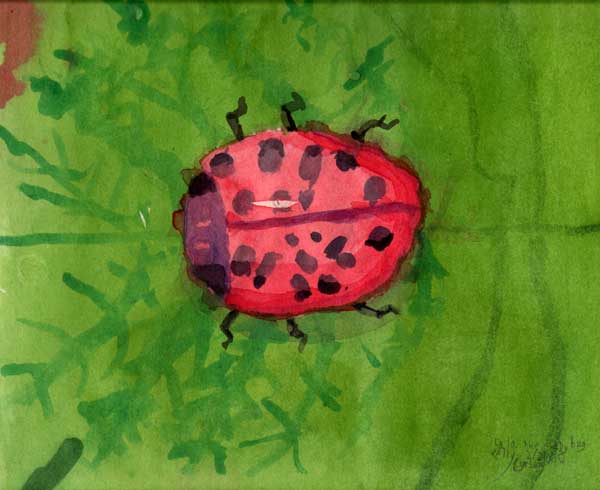
As mentioned in Part 1, these paintings are the result of a new tradition in our house: Painting Sundays. Our children do the majority of the sketches themselves, and Matt coaches them on friskets, brush techniques, washes and other paint applications.

Cow Fish by Timmy (5 years)

Toucanette by Timmy (5 years)

Ladybug by Kelly (8 years)

Bee Bee (our tail-less lovebird) by Timmy (5 years)

Painting Sundays (Part 1)

Below are the results of a new tradition in our house: Painting Sundays. Matt has been setting aside a couple of hours every Sunday to help the kids learn watercolor techniques. They do the majority of the sketches themselves (on Drawing Saturdays, of course), and he coaches them on friskets, brush techniques, washes and other paint applications.

Even if you don’t have the luxury of a live-in artist, you’ll be amazed at what your children can create when provided with a little attention and the appropriate supplies. While archival-quality paper and paint yield beautiful results that will hold up for years, Crayola and other companies offer countless options as well. As for tutorials, look to the library and used book stores for inspiration and guidance—perhaps you’ll learn something fun yourself along the way.

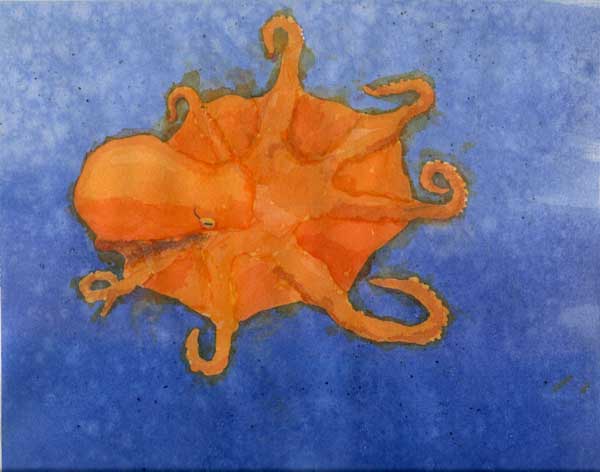
Octopus by Kelly, age 8

Squid by Kelly, age 8

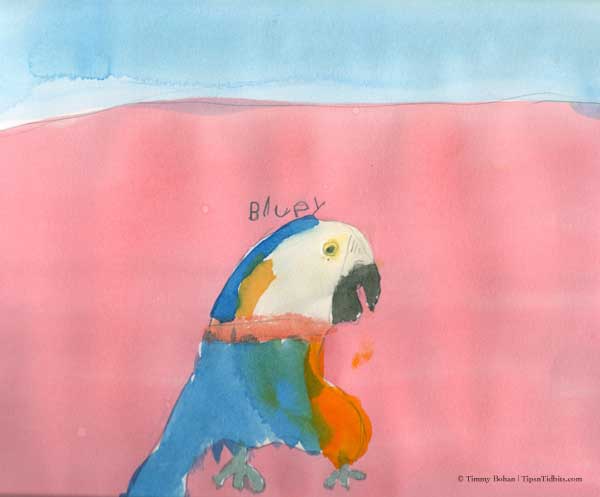
Bluey by Timmy, age 5

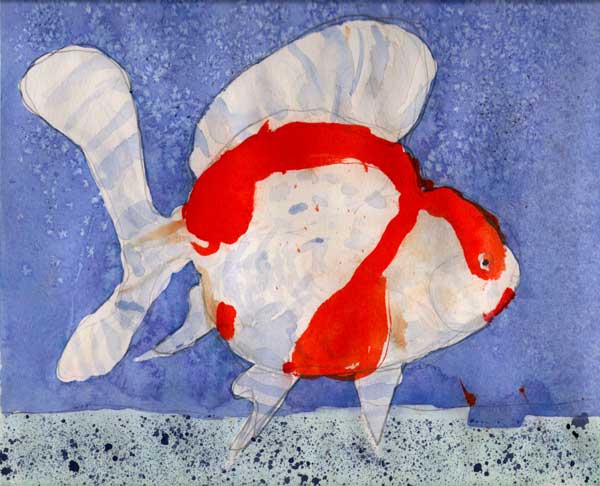
Goldfish by Timmy, age 5